
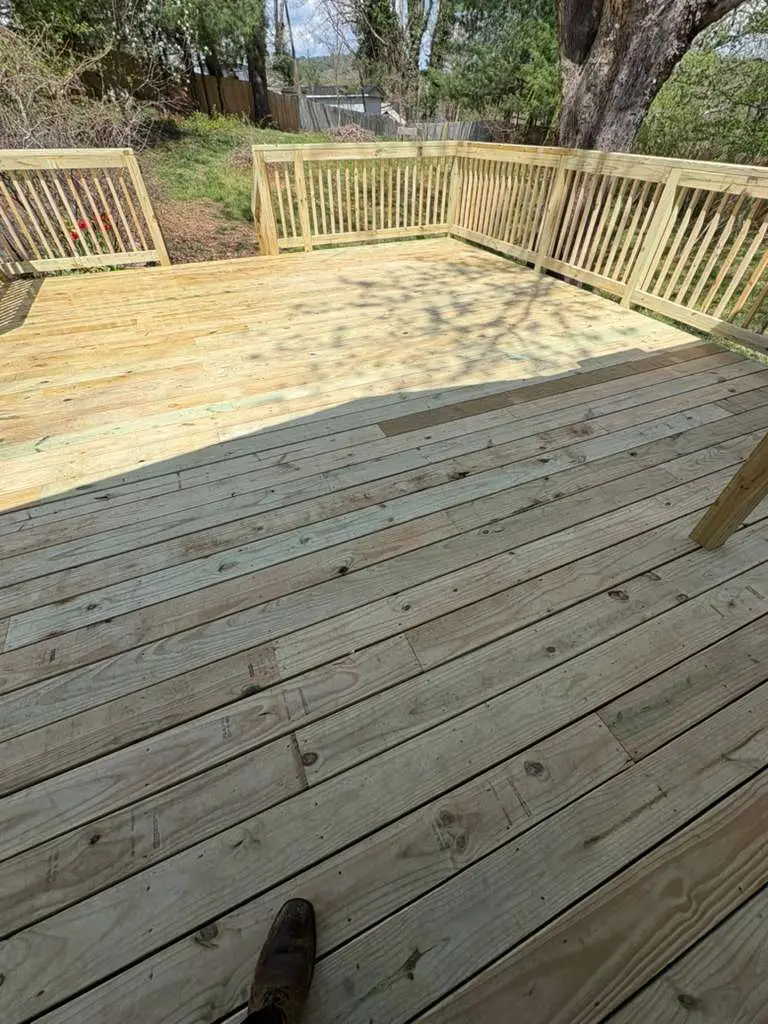
Planning Utility Access and Hose Bibs Around a New Paver Pathway
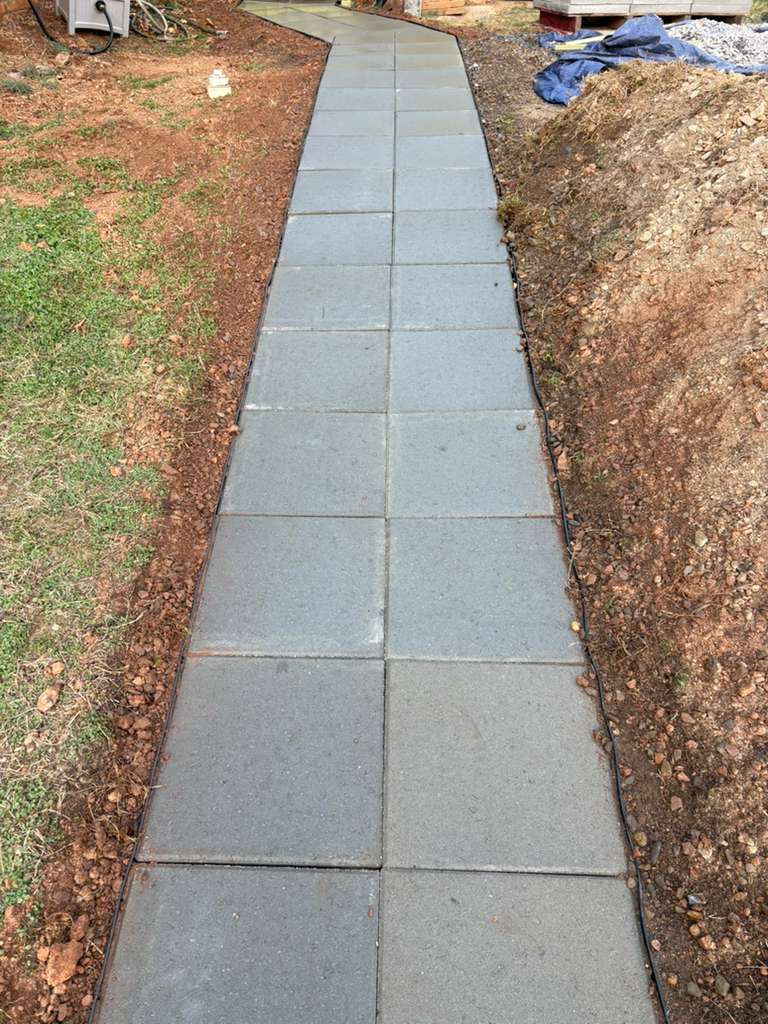
A new paver pathway can transform the side of your home, but that same strip of ground is usually where your hose bibs, electrical equipment, downspouts, and utility connections live. A walkway that looks great on installation day but blocks access to a spigot, covers a service line, or sends water toward a meter box quickly becomes a frustration. The best paver pathways are planned around these details from the start. At Bernardo’s Landscaping LLC, we’ve installed paver walkways across Asheville, NC and the surrounding 30-mile area for over 16 years, and we know how much smoother a project goes when utilities are part of the plan. Here’s what homeowners should think through before the first paver is laid.
Why Utilities Deserve a Place in Your Walkway Plan
The sides of a home are working space. Pipes, wires, and equipment all run through them, and a walkway has to coexist with every one of those elements.
- Side yards are utility corridors. Hose bibs, outdoor outlets, HVAC line sets, gas meters, electric meters, and cleanouts often cluster along the same narrow strip where a walkway makes the most sense.
- Access doesn’t stop mattering after installation. A technician reading a meter, a plumber reaching a shutoff, or you simply attaching a hose all need clear, safe access for as long as you own the home.
- Planning is far cheaper than retrofitting. Moving a walkway layout on paper costs nothing. Lifting pavers, reworking a compacted base, and re-laying a finished surface to reach something that was buried or blocked does not.
- Safety comes first. Some utility lines, especially gas and electric, are subject to clearance and access rules, so the layout should never be improvised around them.
Locating and Marking What’s Already There
Every good pathway plan starts with knowing exactly what’s on the property before any digging begins.
- Call before you dig. In North Carolina, 811 is the free call that gets underground public utility lines marked before excavation. This protects your crew, your home, and your neighbors, and it should happen well before excavation day.
- Remember what 811 doesn’t cover. Public utility markings generally don’t include private lines, such as irrigation, low-voltage lighting, yard hydrants, or lines running to a detached structure, so walk the property and note anything you know about.
- Photograph and map visible fixtures. Note the location of every hose bib, outlet, cleanout, meter, A/C unit, and downspout along the planned route. A simple sketch with measurements prevents surprises later.
- Look for evidence of buried items. Valve box lids, small mounds, capped pipes, and old trenches often hint at something underground, so mention them to your installer during the consultation.
Designing the Path Around Hose Bibs and Spigots
The hose bib is the utility homeowners use most often, so its placement relative to the walkway deserves special attention.
- Keep the spigot reachable from the paved surface. Standing on pavers while attaching a hose is far more comfortable than standing in mud beside the path, especially on a damp Western NC morning.
- Leave room for hose movement. A spigot tucked tight against a wall with a walkway directly in front of it can cause kinks, tripping hazards, and wear on the hose. A little clearance, or a small widened landing, makes daily use easier.
- Plan where water will go. Drips and overflow from a spigot should drain away from the paver base and the foundation. Slope the surface and surrounding grade so water doesn’t collect at the edge of the walkway.
- Consider how the hose will be stored. A hose reel, hose hanger, or small gravel or planting bed near the spigot keeps hoses off the pavers and the path clear for walking.
- Don’t bury or box in the fixture. Pavers should stop cleanly short of the spigot and surrounding wall area, with a neat cut or border, rather than trapping the fixture in a way that makes future repair difficult.
Leaving Access to Meters, Cleanouts, and Equipment
Some fixtures need to stay open and visible, and the walkway should be designed to respect that.
- Keep meters and shutoffs fully accessible. Utility companies and service providers need clear access, so pavers should never cover or crowd a meter, a main shutoff, or a cleanout cap.
- Frame access points rather than hiding them. A neatly cut paver opening, a gravel or stone border, or a removable paver section around a valve or cleanout keeps the area finished-looking and still serviceable.
- Respect clearance around HVAC equipment. A/C condensers and mini-split units need airflow and service room. Plan the pathway so technicians can reach the unit without tearing into the surface.
- Account for downspouts and drain lines. Where a downspout meets the ground, the walkway should direct runoff away from the home rather than trapping it, and any buried drain line should remain easy to reach if it ever clogs.
Building in Flexibility for the Future
A walkway should work for the home as it is today and leave room for what you might add or repair later.
- Think about future outdoor features. If you may want an outdoor outlet, a new spigot, landscape lighting, or irrigation later, mention it during planning so conduit or sleeves can be considered before the base is compacted.
- Use pavers’ repairability to your advantage. Unlike a poured slab, individual pavers can be lifted and reset, which makes access to something beneath the path far simpler if it’s ever needed.
- Keep a record of the layout. Photos taken before the base is covered, along with measurements to key fixtures, are valuable if anyone needs to work in that area years from now.
- Coordinate with the right professionals. Moving or adding plumbing, gas, or electrical work should be handled by licensed trades. A landscape plan can leave room for that work, but it shouldn’t substitute for it.
Finishing the Edges So the Walkway Looks Intentional
The way a pathway meets walls, fixtures, and soil determines whether it looks custom or improvised.
- Clean cuts around fixtures. Pavers trimmed neatly around a spigot, post, or utility box give the walkway a tailored look instead of a patched one.
- Gravel or planting pockets near utilities. A small bed of decorative stone beside a hose bib or meter softens the transition, handles drips, and keeps the area easy to access.
- Consistent edge restraints along the full length. A properly secured edge keeps the surface stable, including near cut sections where pavers meet fixtures.
- Grade the surrounding soil after installation. Once the pavers are down, backfilling and shaping the adjacent ground directs water away from the path and the house and restores a finished look to the side yard.
Final Thoughts
A paver walkway is more than a surface. In a side yard, it’s part of a system that includes water, power, drainage, and equipment you rely on every day. Taking the time to locate utilities, plan around hose bibs, and keep access points open means the pathway looks good and works well for years, without tearing anything up later. The most successful projects are the ones where those details were settled before the excavation began.
Plan Your Paver Pathway the Right Way With Bernardo’s Landscaping LLC
At Bernardo’s Landscaping LLC, we design and install paver walkways for homeowners across Asheville, NC and the surrounding 30-mile area, with careful attention to how the path fits your home, your fixtures, and the way you actually use your yard. Our licensed and insured team brings over 16 years of local experience to every project.
Contact us today to schedule your free consultation and start planning a pathway that works around everything your home needs.
Recent Post

Professional Landscaping Solutions
From design and installation to long-term maintenance, our team delivers reliable service with precision and care.